Lazy Girl's Updo
Do you walk by the hair sticks in Claire’s and wonder what folks do with them? Have you stuck them in your hair, chopstick-style, only to have them fall out again? Yeah, me too. In fact, I still don’t know how people accomplish hairstyles that require two sticks, but I’ve got a simple updo that I do with one.
Materials:
- Shoulder-length or longer hair
- Hair elastic (I prefer the clear, ouch-less, plastic variety)
- Sharp, pointy stick (you can use sticks intended for hair, or pencils, paintbrushes, shish kabob skewers, etc)
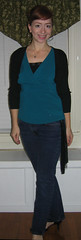
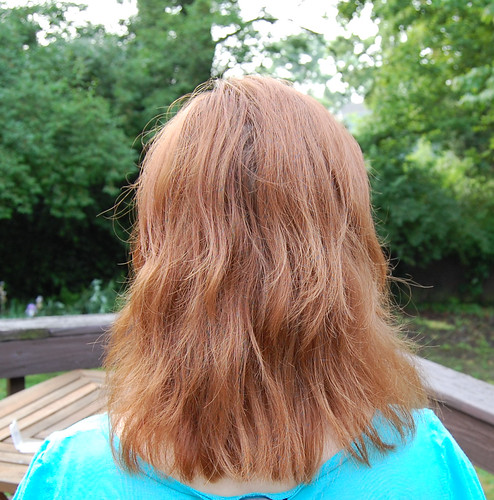
1. Start with your hair down.

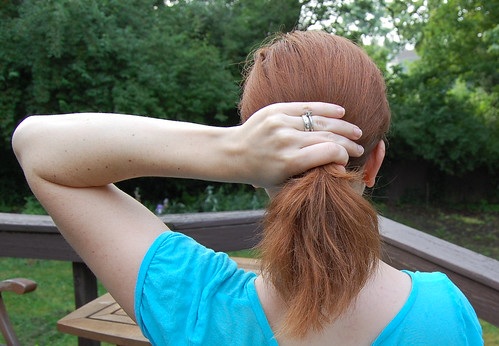
2. Pull it into a low ponytail.
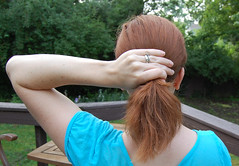
3. Secure with an elastic.
4. Loosen the elastic so that there is slack between the elastic and your scalp.
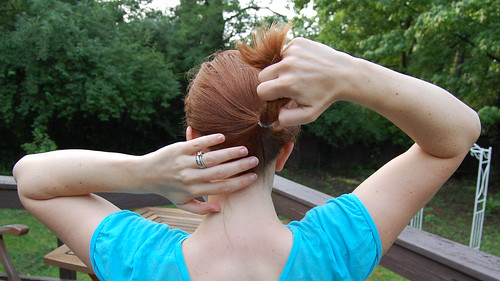
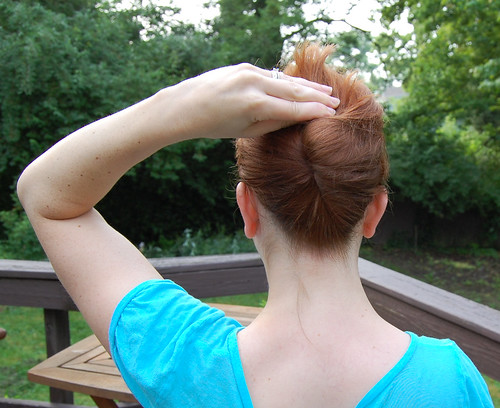
5. Twist ponytail up to create a roll of hair.


The elastic should no longer be visible; it is inside the roll.
I’m going to assume the first five steps are familiar. Who hasn’t done this and then secured the mess to their head with a claw clip? But claw clips, like scrunchies, are tacky. A stick is much classier.
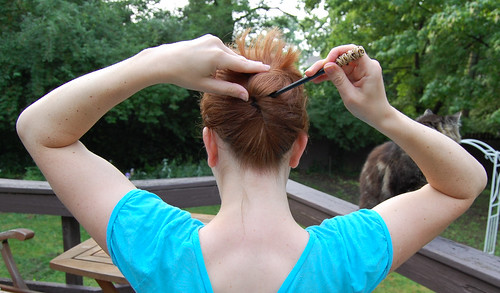
6. Insert the stick into the side of the roll. The positioning is key. The pointy end should be aimed somewhere between 8 and 11 o’clock as you look at this photo. It should also be at about a 45 degree angle to the head.
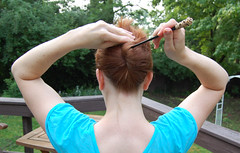
7. Slide the stick through the roll until it touches your scalp. It should exit the roll near the “crack.”

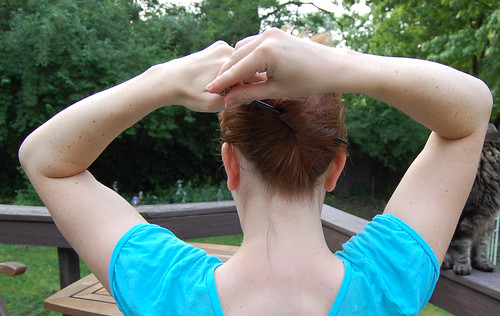
8. Here’s where the magic happens. Keep the pointy end against your scalp, and rotate the entire stick until you are now aiming between 2 and 5 o’clock. This will tighten the roll. Your stick will still be at a roughly 45 degree angle to your head, just flipped.
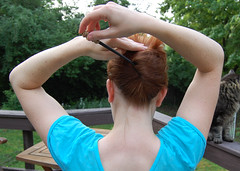
9. Slide the stick home. You’ll usually want an equal amount of exposed stick on either end, unless you have a large and decorative endcap.

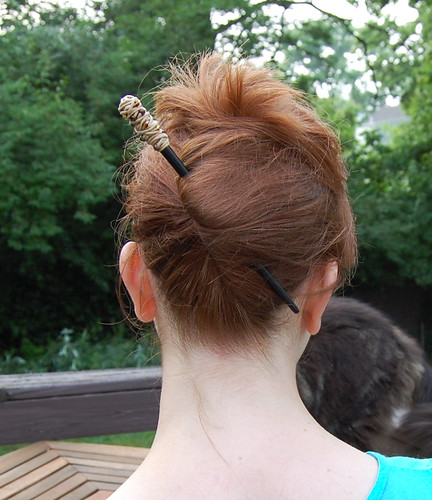
10. Ta-da!
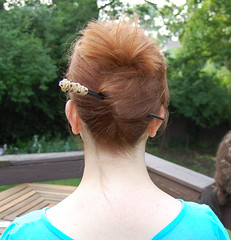
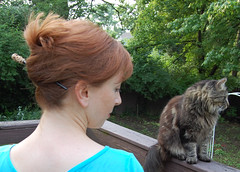
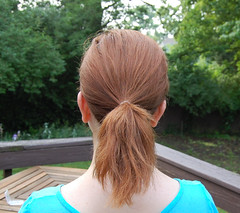
View from the back and the side (with Bear!)
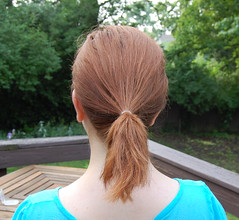
 Usually, I like my updos to be a bit more bouffant than pictured above. Because I was taking photos (and letting go of the hair to press the remote button), the above roll ended up a bit looser and lower than I like. The photo to the left was taken after a second attempt at the lazy girl’s updo, with no pauses for photos. You can see that the roll is higher and tighter and that the stick is more vertical. (There is also more volume at the crown.)
Variations
A. Smooth. Leaving the ends loose only looks good with hair at about my length. Any longer, and you’ll want to tuck the loose bits inside.
B. Accessory-free. Hair pins can be used in place of the stick. If you use pins, insert them at a 90 degree angle to the head along the edge of the roll (left edge as you look at these photos), ensuring that one side of the pin’s prongs catches the hair in the roll. Rotate the pin to the left (as you look at these photos) ninety degrees. Push through the roll. You’ll need four or more pins. (This doesn’t look so much “lazy" as "chic!")
C. Super bouffant. Pull back the top bit of your hair and secure with an elastic. (I call this "the half-back.") Loosen the hair at the crown until the desired height is achieved. Follow steps 1 – 10 with the rest of your hair, being sure to cover the first elastic and any loose hair with the roll.
D. Banded. Add a headband to emphasize the pouf.
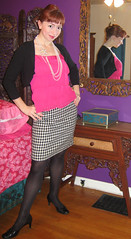
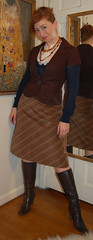
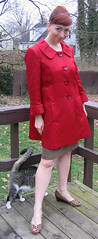
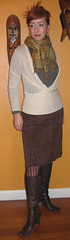
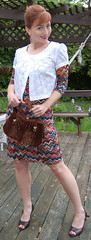
Lazy Girl’s Updo on WhatIWore2Day (click any photo to be taken to that outfit’s blog entry, often including additional pictures):

Yes, there are more examples, but I didn’t want to bore you to tears!
Materials:
- Shoulder-length or longer hair
- Hair elastic (I prefer the clear, ouch-less, plastic variety)
- Sharp, pointy stick (you can use sticks intended for hair, or pencils, paintbrushes, shish kabob skewers, etc)
1. Start with your hair down.
2. Pull it into a low ponytail.
3. Secure with an elastic.

4. Loosen the elastic so that there is slack between the elastic and your scalp.

5. Twist ponytail up to create a roll of hair.
The elastic should no longer be visible; it is inside the roll.
I’m going to assume the first five steps are familiar. Who hasn’t done this and then secured the mess to their head with a claw clip? But claw clips, like scrunchies, are tacky. A stick is much classier.
6. Insert the stick into the side of the roll. The positioning is key. The pointy end should be aimed somewhere between 8 and 11 o’clock as you look at this photo. It should also be at about a 45 degree angle to the head.

7. Slide the stick through the roll until it touches your scalp. It should exit the roll near the “crack.”
8. Here’s where the magic happens. Keep the pointy end against your scalp, and rotate the entire stick until you are now aiming between 2 and 5 o’clock. This will tighten the roll. Your stick will still be at a roughly 45 degree angle to your head, just flipped.

9. Slide the stick home. You’ll usually want an equal amount of exposed stick on either end, unless you have a large and decorative endcap.
10. Ta-da!


View from the back and the side (with Bear!)
 Usually, I like my updos to be a bit more bouffant than pictured above. Because I was taking photos (and letting go of the hair to press the remote button), the above roll ended up a bit looser and lower than I like. The photo to the left was taken after a second attempt at the lazy girl’s updo, with no pauses for photos. You can see that the roll is higher and tighter and that the stick is more vertical. (There is also more volume at the crown.)
Variations
A. Smooth. Leaving the ends loose only looks good with hair at about my length. Any longer, and you’ll want to tuck the loose bits inside.
B. Accessory-free. Hair pins can be used in place of the stick. If you use pins, insert them at a 90 degree angle to the head along the edge of the roll (left edge as you look at these photos), ensuring that one side of the pin’s prongs catches the hair in the roll. Rotate the pin to the left (as you look at these photos) ninety degrees. Push through the roll. You’ll need four or more pins. (This doesn’t look so much “lazy" as "chic!")
C. Super bouffant. Pull back the top bit of your hair and secure with an elastic. (I call this "the half-back.") Loosen the hair at the crown until the desired height is achieved. Follow steps 1 – 10 with the rest of your hair, being sure to cover the first elastic and any loose hair with the roll.
D. Banded. Add a headband to emphasize the pouf.
Lazy Girl’s Updo on WhatIWore2Day (click any photo to be taken to that outfit’s blog entry, often including additional pictures):
Yes, there are more examples, but I didn’t want to bore you to tears!
Labels: hair, special edition
posted by anjal malang at
3:47 AM
![]()

0 Comments:
Post a Comment
Subscribe to Post Comments [Atom]
<< Home